
Over the last 8 months my work has understandably taken a back seat while I adjust to a life I didn’t anticipate and certainly wouldn’t have chosen. As many of us have had to accept, sometimes life just happens and if we’re lucky, we somehow find the strength to adjust. If we’re very lucky there are people around to help us when we fall, listen when we scream and hold us when we cry. There have been days when I could barely lift my head off the pillow and others when life feels entirely normal, but Sam is never far from my thoughts. Or my heart.
The process of making – whatever the craft – has always helped me to heal. Whether recovering from breast cancer surgery or brain surgery, being creative in a practical sense has always helped to centre me. You might imagine that as someone who gets paid to write, I’d commit my thoughts and feelings to words, but not so. Making is the thing that always enabled me to find a path through days of physical pain and mental exhaustion.
Then, along came grief.
The dark bitch that has floored me twice over the last 18 months, first with the death of my precious Mum and then with the loss of my wonderful husband. For me, bereavement combined the worst physical hurt with acute mental weariness and interspersed it with periods of emotional paralysis so severe, I couldn’t process what happened to me. I’m doing much better now but there are still days when I can’t believe that Sam has gone.
Friends and family have been remarkable in their support. I’m truly blessed to have the most thoughtful, kind, loving and often funny support network around me. I say funny because if I didn’t find time to laugh, I’d really never stop crying. One particular friend, jewellery designer & maker Laila Smith offered me a chance to heal in the most unexpected way when she invited me to participate in one of her jewellery workshops. At first I thought, what do I know about jewellery? I think the older we get, the less likely we are to open ourselves up to anything that takes us out of our comfort zone. But given that my world had already been turned upside down AND inside out I thought, ‘exactly, what do I know about jewellery? Nothing. Then I have nothing to lose by going to a class’.
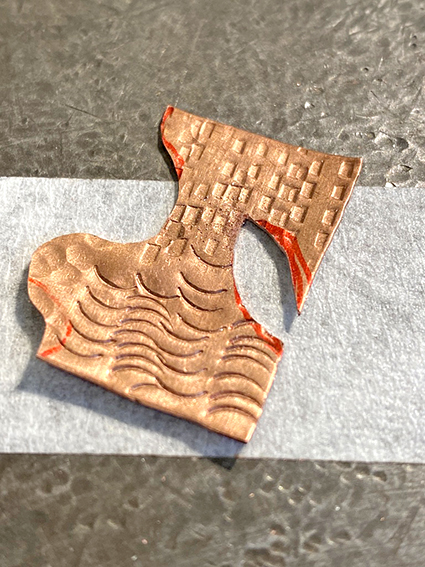
The first exercise on the morning of my first class was to explore mark-making using a set of textured stamps and a small piece of copper sheet. This remarkably straightforward task opened up a completely new world to me. Handling a material so far from the soft, easily manipulated world of fibre that I’ve inhabited for over 30 years was like taking a kid to a sweet shop. I was instantly hooked.
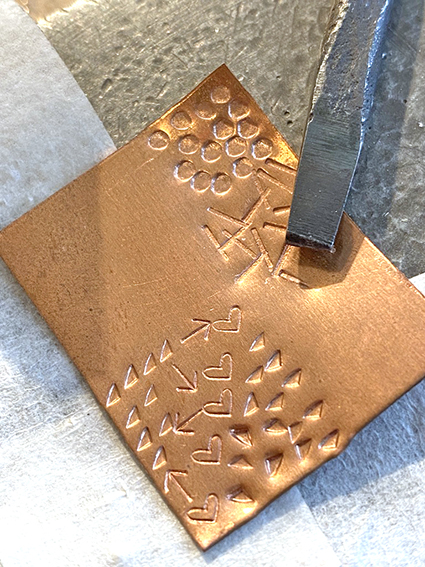
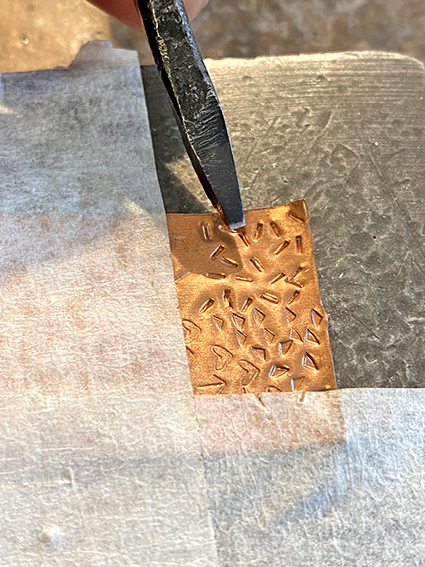
I’m not one of life’s natural squealers but I was lost in what I was doing and giggling like a child. Laila is an excellent teacher who guided me through the use of the basic kit with tools like the hide mallet, binding wire, piercing saw and files of varying shapes.
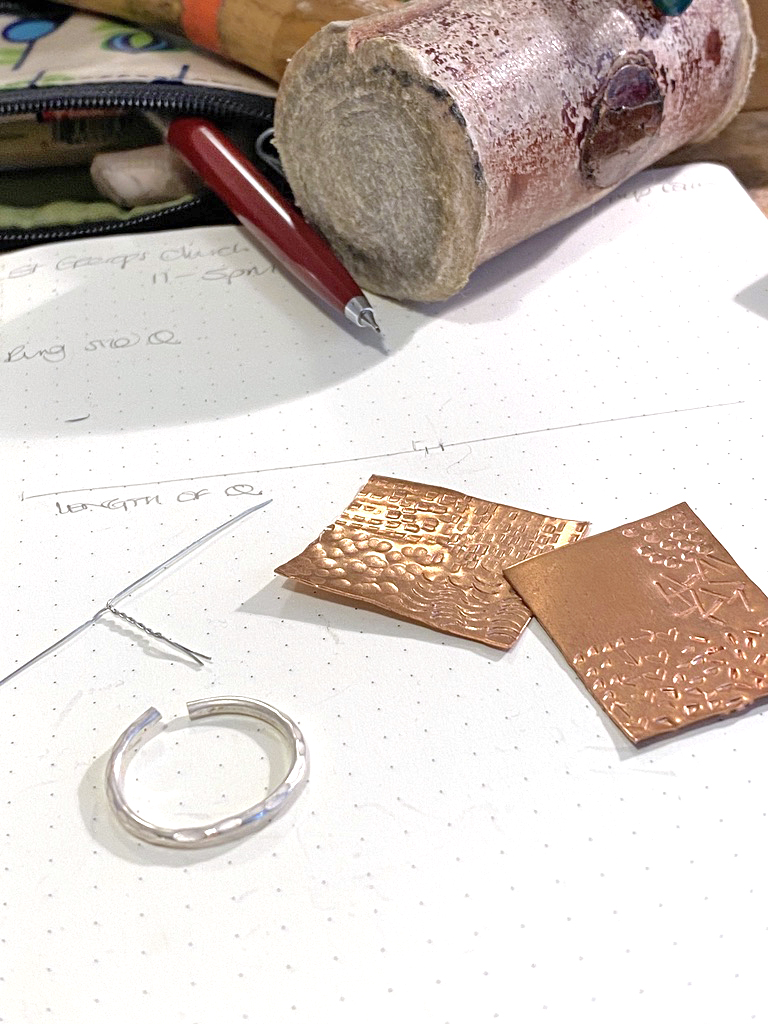
Before long, I’d learned how to measure correctly for my first ring. This process comes so naturally to me now but at the time it felt like I was learning magic. Choosing the right thickness of wire (the correct term for the lengths of metal used to make a ring), accounting for that thickness when cutting; there are so many elements to consider. Especially if like me you choose to work in silver. With precious metals, nothing should go to waste.


What I also thoroughly enjoyed was documenting my thought and making processes with photographs and my sketchbook. Looking back over these shots as I write this post, I’m instantly back at the bench in the workshop. Immersed in what I was making. Without being aware of it I was healing with each piece I made.
It would have been so easy to stick with rings and to date, I think I’ve made four in total. But the more classes I attended the more I wanted to push myself to see if I could achieve even more. There is something truly magical about taking the germ of an idea and, over time, lovingly applying a combination of annealing, cutting, soldering, filing, burnishing and polishing. Looking at my finished pieces I can recall every decision that determined how they came to be.


I’ve loved my adventures in silver. They’ve seen me through some of my darkest times and the results bring me joy because they’ve enabled me to pass love onto both friends and family.
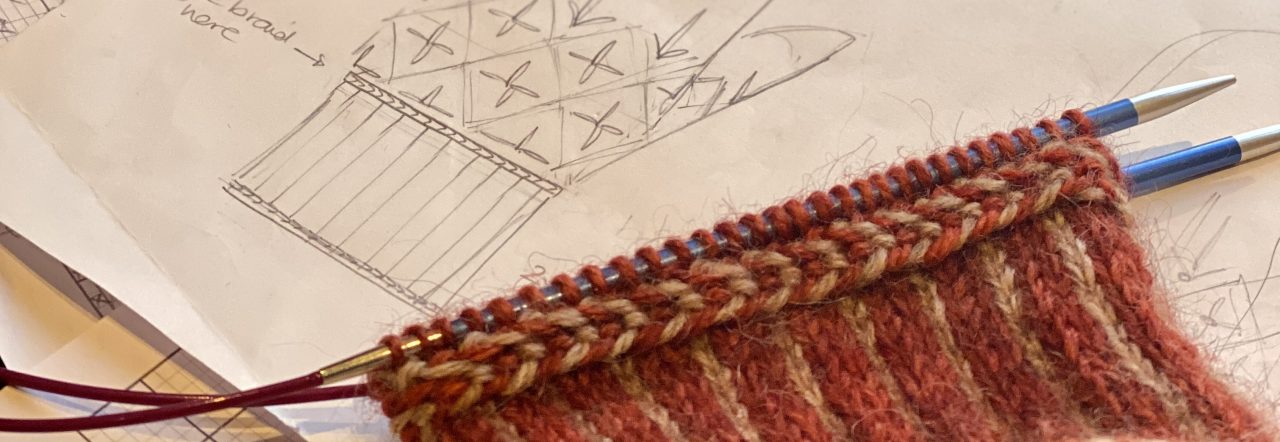
Thank you Laila for sharing your skills, your limitless patience and introducing me to a world I hadn’t imagined I would love as much as I do. I won’t be giving up knitting any time soon but you know, with a bullion dealer just down the road in Brighton I know where to get silver in a hurry should I take a notion to start classes again.
Laila regularly teaches short courses at West Dean College and if you’re looking for original handmade jewellery you’ll find her work for sale through her website Laila Smith Jewellery.
J x
 At the moment I’m feeling an even stronger desire to make, I mean more so than usual. Not just to knit which is normal in my line of work but to sew and as you’ll have seen on my Instagram feed, to bake. If you follow my posts
  Coat a clean work surface with a bit of olive oil and tip the dough onto it then knead. This bit was hard. I mean really hard ( perhaps my mix didn’t have enough water at this point – I’ll adjust this next time) so I kneaded it for 20 minutes. Yes 20 minutes, I’ve got the arms to prove it (no baking pun intended). The other thing I found as I was kneading was that the seeds in the mix shot outwards covering the kitchen in a bizarre shower of edible shrapnel – I put it back in, kneaded a bit more and back out it came. In the end I gathered it in a small bowl for adding back in later. If you can’t bear to knead for 20 minutes do it for at least 10 or until it feels smooth and ‘silky’. You should get a feel for the change in texture.

